Segments
It allow you to group and target shoppers based on attributes, enabling personalized experiences and marketing strategies
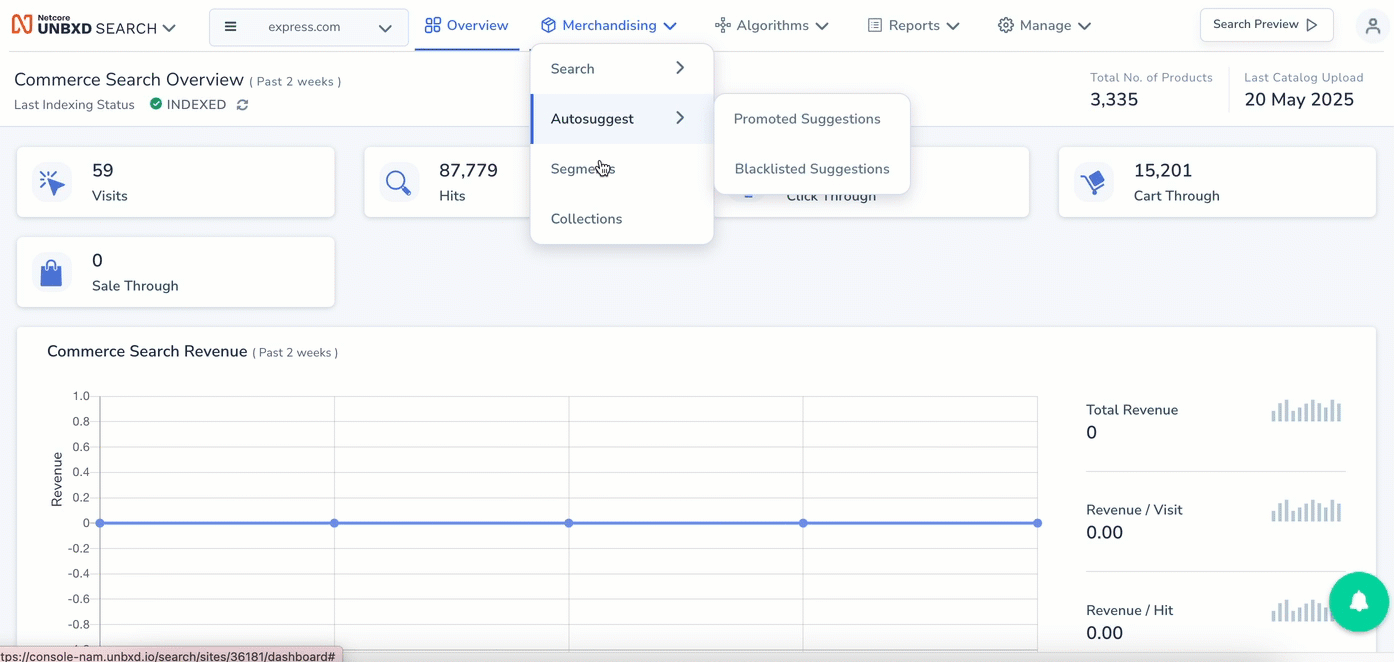
Overview
Segmentation in e-commerce merchandising divides a broad customer base into smaller groups based on shared characteristics. It helps in delivering more personalized and relevant shopping experiences.
In e-commerce, a merchandiser uses segmentation to display products that are more relevant to a customer’s specific segment. For example, showing trending products to new visitors or recommending items based on past views for returning customers.
Netcore Unbxd provides a platform to create and manage these segments. It allows configuring attributes (like location, device, and user type) and custom attributes. Segmentation categorizes customers into groups based on:
- Shopping history
- Geographic location
- Device type
- Other behavioral or contextual attributes
This enables targeted marketing and personalized merchandising strategies.
Unbxd’s Role in Segmentation
Unbxd provides a robust platform to:
- Create and manage segments
- Configure default and custom attributes (e.g., location, device, user type)
- Use custom attributes through API calls
Types of Segments
Segments are defined based on:
Location: Analyze purchasing patterns across different regions. Recommend products with lower shipping costs based on shopper locations.
Devices: Identify purchasing trends across different devices. Track cross-device purchases and personalize each channel’s experience.
Visit Type: Differentiate between first-time and returning shoppers. Display trending products for new visitors and recently viewed or recommended products for returning shoppers.
Custom Attributes: They are included in the search API request to segment shoppers based on specific requirements.
Create a Segment
To create a segment, follow these steps:
Create a Segment
- Navigate to Merchandising > Segments > Add Segment
- Click on the Add Segment and provide the name of your segment in the Add Segment Name box at the top.
- Set up the attributes in the next block. You can set up a maximum of 6 attributes, which includes one default attribute and five custom attributes. Refer here for the attribute details.
- Select the save segment button.
The created segment will be visible on the Listing Page.
Key Functionalities in the Segmentation Dashboard
The functionality below is present on the Segment listing page.
- Search : Use the search option to find and manage existing segments based on attributes such as location, device, and visit type.
- Filter : Use the filter option to view the table below to know about the options available in Filters.
| Option | Description |
|---|---|
| Created date | Period in which the segment was created |
| Creator email | Who has created the segment |
| Segment's attributes | Group shoppers by location, device, and visit type |
- Custom Attributes: Click on the (setting button image) and select add new custom attribute to create an attribute. These attributes will be used to create segments.
NoteThe attributes can be rearranged in order of importance by drag-and-drop operations on the console. Learn more about Default attributes and Custom attributes here.
- Bulk upload/download segment: Easily upload or download segments in bulk for efficient management. You can upload a locally created JSON file with multiple segments to the console simultaneously. Similarly, you can download the list of created segments in bulk.
- Delete a Segment: Custom attributes can be selectively deleted if not used in any active segment and Unbxd default attributes are permanent and cannot be removed from the system.
Good to know
- Active Segment: If a segment is used by any active or upcoming campaigns in search or browse. It cannot be deleted unless the Segment expires or stopped.
- Global Segments: It is a default and non-editable entry that encompasses all device types and any location and includes both new and returning users.
Use cases and Examples
| Segmentation Type | Segment Name | Merchandising Strategy | Example |
|---|---|---|---|
| Based on Location | West Coast Shopper | Implement a targeted banner campaign for West Coast online shoppers.
| When a shopper from the West Coast visits the online clothing store, they see a location-specific banner offering a discount, increasing the likelihood of a first-time purchase. |
| Based on Location | Pacific Northwest(PNW)Home Comforts | Use pin and slot merchandising rules to tailor product display for the Pacific Northwest climate.
| Shoppers from the Pacific Northwest see search results prioritizing climate-relevant products, creating a customized shopping experience. |
| Based on Visit Type (New User + Location) | Women’s Swimwear Banner – Florida | Deploy a welcoming discount banner for new users in Florida interested in women’s swimwear.
| A new visitor from Florida searching for “women’s swimwear” sees a banner offering a welcome discount, increasing engagement and conversion. |
| Based on Visit Type (Repeat User + Location) | Loyal Sunseekers FL | Use a Boost and Bury approach for repeat shoppers in Florida.
| Repeat customers in Florida searching for “women’s swimwear” see top-ranked, regionally popular swimwear, ensuring a tailored and efficient shopping experience. |
| Based on Device Type | Tech Accessory Cross-Selling | Cross-sell accessories that complement the shopper’s mobile device.
| Mobile shoppers see accessories relevant to their device type, increasing cross-sell opportunities. |